Alien Invasyndrome Difficulty, Tuning, and Larva Survival
Why the Demo feels hard, and which knobs you actually control
Why this page exists
A common search around Alien Invasyndrome is “how hard is the Demo / is there a difficulty setting / why do I keep getting caught.” The honest answer: there is no advertised difficulty toggle in the Demo. Difficulty comes from how you tune your build, your patience, and your understanding of the stealth loop. This page explains what the Demo actually penalizes, what it forgives, and how to soften the experience without lying to yourself about the systems.
Developer Mozu Field / 百舌鳥, publisher Shady Corner Games. Adult 18+ title; difficulty talk stays mechanical. Wishlist Steam app 4603980; full release TBA. Demo content checkpoint: Demo 1.0 hotfix (May 5, 2026) — verify on Changelog. Hub: Walkthrough Hub.
The core difficulty knob — the detection minute
Almost every complaint about Alien Invasyndrome difficulty comes down to the ~1 minute hide after a clear spotting. Once a crew member, drone, or camera actually registers your tile:
- You cannot re-enter the route cleanly for roughly 60 seconds.
- A second spotting during that window stacks the timer (depending on patch and room).
- The shortest path to safety is softlock under a desk, not a panicked sprint.
Players who survive the Demo with comfort treat the detection minute as a hard tax they plan around. Players who die often treat it as an interruption that broke their flow. Plan around it. Tool: Detection Timer. Theory: Stealth and Detection.
The three layers of difficulty
- Environmental difficulty — what Atlas throws at you.
- Build difficulty — what your skill plan enables or forbids.
- Player difficulty — your habits, patience, and pattern reading.
Tune all three. None of them is a difficulty setting in the menu.
Layer 1 — Environmental difficulty
The Demo’s Atlas ships with these environmental frictions:
- Short slice, high density. A vertical slice teaches the loop in a small map; you cannot out-level the encounter budget.
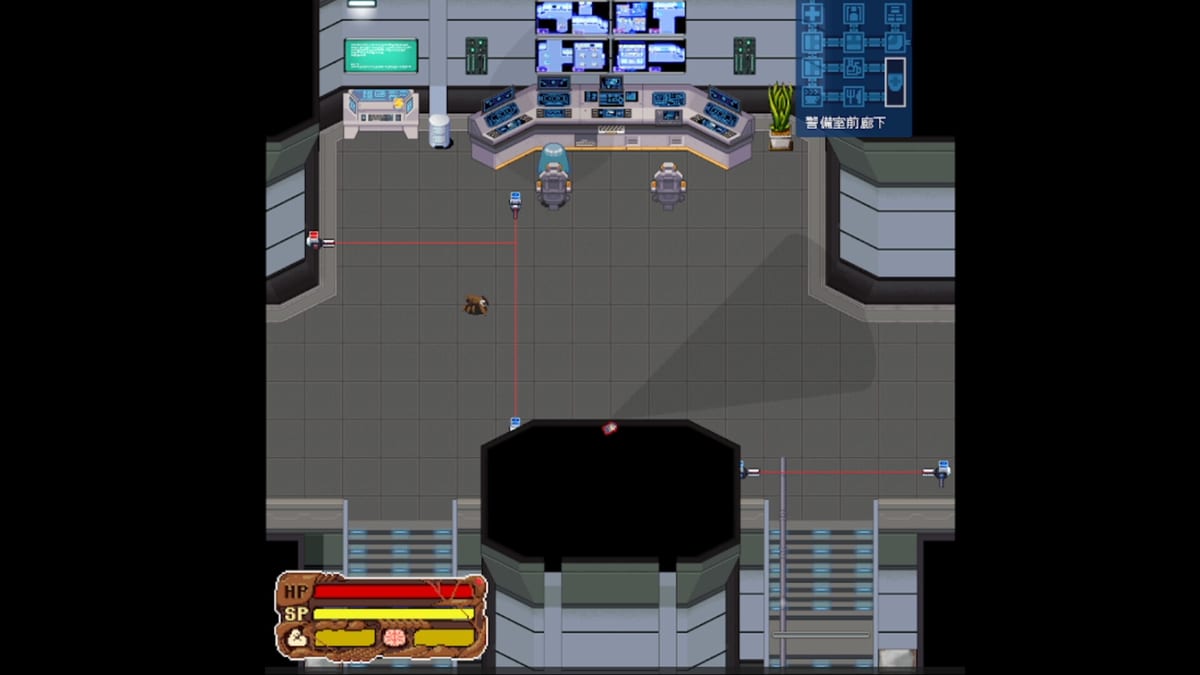
- Softlock-heavy rooms. Some Cafeteria and Lab furniture behaves as both cover and trap. Wrong exit timing can lock the larva into a stuck state.
- Drones and alarms. Drones add LOS pressure that crew patrols do not. Cafeteria alarms can chain into a 90-second lockdown on some builds.
- Save friction. Some Demo builds drew community notes about partial rollbacks after a crash.
- Detection cone drift. Sight cones and idle-turn cadence can shift between patches — confirm on Changelog after each update.
You cannot disable any of these. You can prepare for them. Pages: Drones and Alarms, Softlock Fixes, Save and Progress.
Layer 2 — Build difficulty
Your skill tree is the only direct knob the Demo gives you. Two axes:
- INT — control, utility, lower-cost windows. Suits quiet routing.
- STR — pressure, brute windows, faster commits. Suits narrow routes.
A few rules of thumb:
- Most early Demo failures come from over-spending STR before INT.
- A pure INT build feels safer but slows capture commits — pair with Skill Planner.
- A pure STR build feels fast but burns resources on every failed window.
- Hybrid early, specialize later, is the common compromise.
Deeps: INT vs STR, Skill Tree, Early Build, Evolution Paths.
If you want to lower the effective difficulty, lean INT and survival nodes until Kitchen and Clinic feel routine. Then experiment with STR.
Layer 3 — Player difficulty
These are the habits that decide runs once systems are set.
- Patience. Scout more than you commit. A doorway peek before a sprint is the cheapest possible difficulty nerf.
- Memory. Patrol cadence is memorizable per room. Treat it as a puzzle.
- Abort readiness. A drone sounds → abort, do not commit. The right answer to a softlock is hide, not fight.
- Save discipline. Save before risky runs. Avoid stacking long Security attempts on a suspect save slot.
- Drill, don’t binge. Spend ten minutes on a single drill (Middle Deck Loop) rather than grinding Kitchen Route until tilt.
If you feel stuck, the most likely cause is one of these five, not the Demo’s balance.
Is there a difficulty setting in the Demo?
No. The Demo does not advertise difficulty toggles. Skill tree pathing is the de-facto difficulty dial. Patch notes so far have not added a menu toggle. If one lands in a future update, Changelog will note it; do not chase rumor toggles.
Some unofficial mods claim to add “easy mode” — they are not supported, will be detected as modified builds by Steam, and will void your ability to share clean save data. Skip them. Use Difficulty (this page) instead.
Why the Demo feels hard in May 2026
Three honest reasons, all mechanical:
- Vertical slice budget. You cannot out-level the encounter set; every room teaches something the Demo wants you to repeat.
- Detection minute is unforgiving. Plan for the ~1 minute window; do not assume you can sprint past it.
- Softlock bugs vs intended hide. The line is fuzzy on first session. Pages like Softlock Fixes help you tell them apart after one or two drills.
These are not “the Demo is unfair” complaints — they are the larva fantasy doing its job.
Difficulty per room — what to expect
| Room | Effective difficulty | Why |
|---|---|---|
| Kitchen | Low–medium | Open sight lines but forgiving hide furniture. Route: Kitchen Route. |
| Clinic | Medium | Doctor event adds attention-trap risk. Route: Clinic Doctor Route. |
| Laboratory | Medium–high | Patrol density and corridor length reward nest banking. Route: Lab & Cafeteria Route. |
| Cafeteria | High | Open floor, alarms can chain. Route: Lab & Cafeteria Route. |
| Security Room | High | Denser cones, camera pressure, Route A/B. Route: Security Routes. |
| Boss Room | High | Climax fight — see Boss Route. |
Drill pre-runs in Middle Deck Loop flatten the curve before you commit.
How to actually make the Demo easier
Practical, mechanical, in-game:
- Lean INT and survival nodes first. Spend on detection avoidance and nest defense.
- Bank nest before deep rooms. A thin nest is the single biggest amplifier of failure.
- Use softlock as a verb, not a panic mash. How to Hide teaches the rhythm.
- Treat the detection minute as a hard timer. Use Detection Timer until the rhythm is automatic.
- Save before risky sections. Save and Progress covers slot hygiene.
- Reduce visual clutter. Close overlays, drop the resolution, kill background apps — Performance & Settings covers this.
- Drill Middle Deck Loop. Middle Deck Loop is the low-pressure practice field.
If you want a softer experience than that, the Demo is honest: it does not pretend to be easier than it is. Adjust expectations, not the Demo.
Common mistakes that inflate difficulty
- Skipping nest banking because “the route is short.” Routes feel short until they aren’t.
- Rebinding mid-Security without a safe desk nearby. Keyboard Controls should be muscle before pressure.
- Forgetting Locale Emulator when menus are unreadable. Misread prompts create fake softlocks. Locale Emulator.
- Stacking long attempts on a suspect save. Restart the run cleanly before Boss Route.
- Misreading the boss gimmicks. How to Beat the Boss covers the climax checklist.
Full list: Common Mistakes.
Difficulty, the wiki, and you
This wiki aims to lower your effective difficulty through clarity, not through fake “easy” advice. Use:
- How to Play — the larva loop.
- First Session — first-hour plan.
- Stealth and Detection — the hide minute.
- How to Nest — the power curve.
- How to Capture — commit windows.
- How to Beat the Boss — the climax.
If the Demo still feels impossible after these, your PC may not be clearing the launch gate. System Requirements is the first sanity check.
Related pages
- Walkthrough Hub
- Demo Walkthrough
- Stealth and Detection
- How to Hide
- INT vs STR
- Detection Timer
- Common Mistakes
- How to Beat the Boss
Bottom line
Alien Invasyndrome difficulty is not a toggle. It is a stack: detection minute + environmental density + your build + your habits. Lower the stack by leaning INT early, banking nest, drilling the detection timer, and using Middle Deck Loop as practice. If after that the Demo still feels impossible, the answer is build literacy, not patch the Demo.
Frequently Asked Questions
Quick answers to common Alien Invasyndrome questions.
Is there a difficulty setting in Alien Invasyndrome?
No. The Demo does not advertise difficulty toggles. Skill tree pathing is the de-facto difficulty dial. See Difficulty and INT vs STR.
Why does the Demo feel so hard?
Three honest reasons: short vertical-slice budget, the ~1 minute detection tax, and softlock traps that look like bugs on first session. See Stealth and Detection and Softlock Fixes.
How do I make the Demo easier without mods?
Lean INT and survival nodes first, bank nest early, treat the detection minute as a hard timer, drill Middle Deck Loop, and use Detection Timer until the rhythm is automatic. Full list: Difficulty.
What is the easiest room in the Demo?
Kitchen is the lowest-pressure landmark; it is the recommended first drill room. See Kitchen Route.
Will a future patch add an easy mode?
No Steam-published patch has added one yet. If a future update adds a difficulty toggle, Changelog will note it. Third-party "easy mods" are not supported.