Atlas Overview in Alien Invasyndrome
How the exploration vessel is structured for stealth runs.
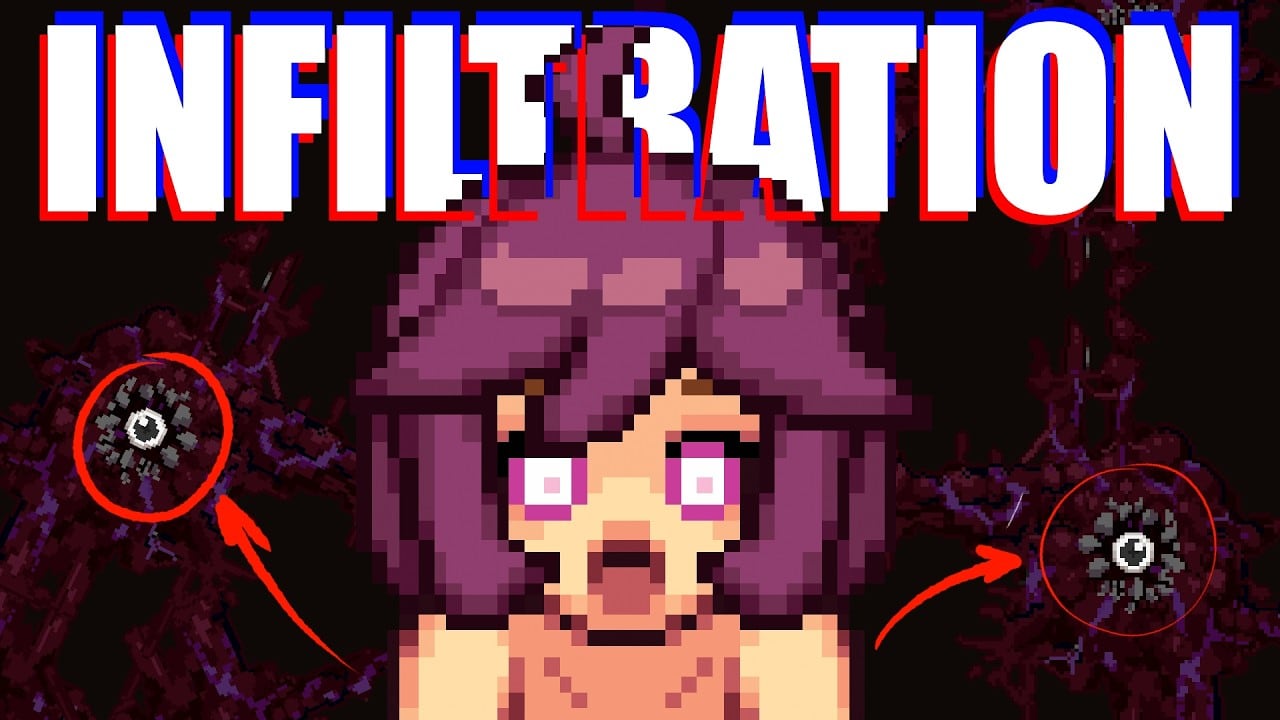
Alien Invasyndrome places you on Atlas, an exploration vessel that the story frames as a last-ditch human research ship. Mechanically, Atlas is a layered stealth stage: Top, Middle, and Lower decks linked by corridors, shadows, vents, and furniture cover. You control a weak alien larva that must grow through nesting and skill investment while avoiding crew sightlines. This page is the orientation layer above Decks and Key Rooms.
Adult content note (brief): the title is 18+. This overview discusses layout and risk only.
Premise that matters for pathing
The fiction says a mysterious organism boards Atlas and tries to take the ship through capture and nesting. For Demo play, that premise translates into three practical truths:
- You are slow and fragile early. Open mid-corridor peeks lose runs.
- Nesting converts risky captures into safer future cycles—see How to Nest.
- Skills change which routes are even worth attempting. Pair this map with Skill Tree and Early Build.
Developer Mozu Field / 百舌鳥 and publisher Shady Corner Games currently present a Demo on Steam (4603980) with full release TBA. Treat unfinished zones as incomplete rather than “secret empty rooms.”
Spatial model: three decks, one predator loop
Atlas is easiest to memorize as a vertical stack:
- Top deck: often feels more “service / command adjacent” in pacing—longer sightlines in places, fewer forgiving clutter pockets depending on Demo build.
- Middle deck: the Demo comfort zone for many players—Kitchen, Cafeteria, Clinic, Laboratory, and Security pressure commonly read here. Learn Middle first.
- Lower deck: roadmap language around Demo completion has mentioned expanding lower areas; do not assume full lower traversal in every Demo build.
Detailed movement habits live on Decks. Room-level approach notes live on Key Rooms.
Shadows, vents, and desks
Cover in Alien Invasyndrome is not cosmetic wallpaper. Shadows shorten detection windows when you move with patience. Vents and tight furniture lines let a larva reposition without starring in the middle of a patrol cone. Desks are double-edged: they hide you, but Demo softlocks under desks are a known pain point. If you cannot exit cleanly, you are not “safe”—you are stuck. Recovery guidance: Softlock Fixes.
Detection failures often impose a roughly one-minute hide-and-wait tax before the loop feels fair again. Practice the penalty with Detection Timer and the theory page Stealth and Detection.
Nest logistics as map design
A nest is a strategic node, not only a progression checkbox. When you place nest activity far from your common capture rooms, every return trip crosses more sightlines. Prefer nest placement that shortens the highest-frequency commute you actually run. Cross-check:
- Nest Checklist
- Evolution Paths
- Characters Hub for who tends to occupy which traffic lanes
Security as the map’s pressure valve
Security Room is the Demo’s most discussed chokepoint, with route A and route B approaches covered in Security Room and Security Routes. Do not treat Security as a normal side room. Scout once, commit to one approach, and bring the stealth habits from How to Play.
Kitchen often functions as a feeder into broader Middle-deck movement; Kitchen Route is the practical companion when overview theory is not enough.
How Atlas teaches the Demo curve
A clean mental curriculum looks like this:
- Survive Middle corridors without forcing captures.
- Learn Kitchen and Cafeteria traffic clocks.
- Probe Clinic and Laboratory for tighter angles and desk risk.
- Practice Security A or B once with a planned abort.
- Spend skill points using Skill Planner so the next attempt is not the same larva with the same mistakes.
- When ready, follow Demo Walkthrough through nesting, Security, and boss context (How to Beat Boss).
Orientation checklist
- Can you name Top / Middle / Lower without looking?
- Do you know one abort path from Kitchen and from Security?
- Have you tested one desk hide and confirmed you can leave it?
- Is your nest commute shorter than your greed?
- Did you open Map Hub after this page so sibling links stay in muscle memory?
Related reading
- Map Hub — index
- Decks — vertical habits
- Key Rooms — room dossier
- Walkthrough Hub — ordered clears
- Guides Hub — systems
- Skills Hub — INT/STR growth
- Review Hub — Demo expectations
- Updates Hub — version notes
Atlas is readable once you stop treating it like a flat dungeon and start treating it like a stack of patrol economies. Learn the stack, then specialize room by room.
Frequently Asked Questions
Quick answers to common Alien Invasyndrome questions.
What is Atlas in Alien Invasyndrome?
Atlas is the exploration vessel where the Demo takes place. You infiltrate as an alien larva across Top, Middle, and Lower deck spaces using stealth, nesting, and skills.
Should I learn vents or rooms first?
Learn room jobs and patrol clocks first, then use vents and shadows as connectors. Key Rooms plus Stealth and Detection is the efficient order.
Why does nest location matter on the map?
Every return trip is exposure time. A nest that shortens your most common commute reduces detection risk more than a flashy distant hideout.
Is Lower deck fully available in the Demo?
Not reliably across all Demo messaging. Treat Lower expansion as in-progress; verify in your build and track Updates Hub notes.
Where do I go after this overview?
Read Decks, then Key Rooms, then Kitchen Route or Security Routes depending on your next goal.